Followers

Monday 28 November 2011

Kissing under the Mistletoe


Evening peeps
I thought that today I would finally show you a card I made last week, but just hadn't got around to uploading.  The image is from LOTV, and has been coloured with Copics as usual.  The paper is from a Bearly Mine digi set, to which I've added a border of dark green card cut with a couple of my new Spellbinder edgeabilities dies, and then topped with some ribbon that I picked up on the local market.  The holly leaves and berries are die cut, but I can't remember which company the die is from.  Poinsettias are made using my Marianne dies, and I've added stamens which were punched out of coffee filter papers, and then coloured with Distress Ink.  A good old sprinkle of Glamour Dust and that about sums this one up.  As always I hope you like it.

Judi x

Sunday 20 November 2011

Ho! Ho! Ho!


Hi peeps

A few weeks ago I was given a metre of each of my 5 favourite Christmas ribbons by the team at Crafty Ribbons, on the condition that I made two items using the ribbon for them to display on their blog.  When the ribbon arrived, I realised that two of them were a LOT wider than I'm used to working with, so struggled quite a bit deciding how best to use them, and this is one of the cards that I came up with.  The Santa image is an old one from Magnolia.  The 'Wish List' is from Whimsy, and I think the papers are some that I picked up last year from Papermania.  I have once again used the MS icicle punch, poor thing's going to be worn out with all the use it's had this winter!

Hope you like it.

Judi x

Saturday 19 November 2011

Would you like to get the template to make this set for FREE???


Get a free "Santa's Magical Sleigh" card making template from Card Carousel.
Just visit www.cardcarousel.co.uk/free/sleigh.html

Judi x 

Friday 18 November 2011

Tash is 40!!


Hi there peeps

Today's card was made a few weeks ago for a really great friend's 40th.  Obviously I didn't want to show it until after the big event, but while she's off in Canada celebrating I'm left here stuck in bed, so I thought now would be a good time to share it with you.

At the time I made it I was having to spend a LOT of time in bed, and it ended up being a bit of a rush job, so sadly it's not quite as decorative as I'd originally planned, but hopefully she liked it when she opened it on Tuesday.

The image is from LOTV, and as Tash loves her mini and is a 'pink and fluffy' type, I thought it would be just perfect for her.  I made the flower absolutely ages ago when experimenting with different techniques one day, and finally this seemed the perfect opportunity to use it.  I've also made a little tag which slips into the pocket on the bottom of the easel so that I could write my message on it.

Hope you like it.


Have a GREAT weekend.

Judi x

Monday 14 November 2011

How about THIS for Blog Candy?


Hi all

I guess many of you will have already seen this, but if not, pop over to the Craft Barn to see how you could be in with a chance to win it!

Tuesday 8 November 2011

009 - Santa Stop Here!


Hi everyone
Today's card is made using an image sent to me by a friend, so I'm afraid I don't know who it's from. Unfortunately, the glitter that I've used on him makes him look a bit weird, but it's fine in real life!   The papers are from an old Dovecraft Christmas pack - just love that bright blue. I have of course used my MS icicle punch - BRILLIANT for Christmas cards.   I used Nesties for the circles, and then ran the top one through a Cuttlebug embossing folder.  The snowflake is a mixture of a couple of dies, sorry, I'm not sure which one comes from where.  They've been covered with Glamour Dust, and then I've added a few white pearls.  The sentiment is computer generated.

That's it for today peeps.

Hugs

Judi x


Wednesday 2 November 2011

Snowmen in stockings???


Hi peeps
OK, so he's not really in a stocking, but admit it ....... it made you look, right? 

Anyway, some of my longer term followers may remember me making a couple of stocking shaped cards last year  - they were a big hit with family and friends, so when I came across the template the other day I figured I'd give it another outing.  The snowman is one of my older ones, from Whiff of Joy, I think, although I've just had a peek at their website, and can't find him, so maybe he's been discontinued??   As usual he's been coloured with Copics and given the Glamour Dust treatment.  The patterned paper is another digi from Shery K, and because it was a bit 'in your face', I decided to use plain green card for the stocking top, toe, and heel, but hey, it's for Christmas, and Christmas wouldn't be Christmas without a little sparkle, so when I'd finished I doodled little patterns all over the green bits with my glue pen, and then sprinkled them with Glamour Dust - MUCH better!!  Once again I've given the MS icicle punch an outing, and I made some more poinsettias using my Marianne Creatable dies - love 'em.  I then covered the flowers with glossy accents and sprinkled them with Twinklets Diamond Dust - think I might have gone a bit overboard!!!  The sentiment is a stamp from the latest Whimsy release, and that's it.  

Hope you have a moment to let me know what you think.

Judi x


Thursday 27 October 2011

Santa Claus is Coming to Town


Hi again peeps

Thanks for dropping by.  Today's card features a Santa stamp from Whiff of Joy, he's coloured as always with my Copics, and I'm rather pleased with how well the red came out, as like a lot of people, I do struggle with blending the reds.  The papers are digis from Shery K Designs,  they seen to have a good selection and great prices.  I've once again used the Naughty or Nice stamp from Whimsy which I absolutely love, and the Merry Christmas is from an old HOTP set.  Snowflakes cut with various dies, and then topped with a button and bakers twine complete this one.  Hope you like it.

Judi x

Tuesday 25 October 2011

007 - Tilda's Christmas


Evening all
Today I thought I'd give a couple of my new Christmas Maggie stamps an outing.  I love the image of the open door, and really enjoyed colouring it with my Copics.  The background papers are a download from Nitwits.  'Santa's List' is a Whimsy stamp, which I edged with Walnut Stain distress ink, and then lightly went over the edges with 'Old Paper'.  The icicle edge is cut with one of my favourite Martha Steward punches, and I've used that pen that gives the puffy snow effect (whose name I still can't remember, lol) around and over the front door.  A little bit of ribbon from my stash, and the 25th December stamp from LOTV, and that completes today's effort.  Oh, and quite a bit of Glamour Dust which I've added all over the place, lol.

Thanks for looking

Judi x

Friday 21 October 2011

Christnas Post


Hi there everyone

Well, you wouldn't believe the problems I had uploading this card to show you!  Some of my regular followers may remember that a while ago I had to upload a card side ways on, as for some reason Google kept turning it around?  Anyway, the same thing happened with this one, and where previously I had resolved the problem by uploading from Picasa, even Picasa wouldn't play ball this time, and every time I tried, it froze my computer!  I tried several times, and oh boy was I getting cross!!!  I eventually decided to remove Picasa from my computer altogether, so if anyone else has experienced this problem I would love to hear about it, and if they've been able to resolve it.

Anyway, now that I've finally got it uploaded so that you can see it without getting a crick in your neck, I guess I'd better tell you a bit about how I made it.  The image is of course from LOTV, and was coloured with Copics.   The background paper is from the Papermania 'Home for Christmas' pad again, and because it's really busy I decided to keep the rest of the card fairly simple, just added a little bit of embossed red card, some lace and a bit of ribbon.  The sentiment is a rubber stamp from 'Cats Life Press'.  For the ground I used some of that stuff that comes in a pen and you heat it up to make it puffy like real snow - sorry, I'm having a blond moment and can't remember what it's called, lol, while it was still wet I sprinkled it with Glamour Dust, and was quite pleased with the finished result.  I hope you like it too.

Have a great weekend, and I hope to be back with another card soon.

Judi x

Monday 10 October 2011

Festive Frosty


Hi everyone

Today I have another Christmas card to show you.  I've used Molly Bloom's 'Festive Frosty with Tree' stamp,  I coloured him with my Copics in as near to the colours shown on the packaging as I could, and am thrilled with the way he's turned out.  The papers are from Papermania's 'Home for Christmas' pack, which I've matted on to bright red card stock.  The icicles border is an MS punch.  The star 'buttons' are a Sizzix die - I cut 5 for each star, glued them together to approximate the thickness of chipboard, and then punched holes in them to make them look like buttons.  I then edged them with a white pen, and am again quite pleased with the effect.  The ticket is I believe a digital freebie from Bitavin's Blog, although I think I must have downloaded it some time ago, as I can't find it on the blog now.  I do hope you like it as much as I do.

Hugs
Judi x

Friday 7 October 2011

Ain't Love Grand?


Hi peeps
Well, I'm home again, after all those lovely weeks in Spain, and would you believe I was lucky enough to have those few days of sunshine when we got back too!  Now it's back in at the deep end, and I've somehow got to find a way of getting through the dark winter months, so it's back to my card making and paper crafts.

Today's card is one that a friend asked me to make for her parent's 65th wedding anniversary - Imagine ... 65 years together, how incredible is that?  Anyway, the image is a digi from the lovely Mo Manning.  I've wanted to use this one for ages and this seemed like the perfect opportunity.  The papers are some old ones, donated to me by my lovely friend Tash, so I'm afraid I don't know who they're by, but I do love the pink, cream and brown together.  I cut a heart shape out of corrugated cardboard, then covered it in white crackle paint, and edged it with Walnut Stain distress ink, and added a touch of pink distress ink over the white just to soften it a bit.  Each of the layers was stitched in place, and then I added some roses from Wild Orchid Crafts, printed the sentiment and cut it out with a nestie, then added a couple of bits of ribbon, a pin, and a heart charm from my stash, and that's about it.  I do hope you like it.

Hugs

Judi x


Thursday 8 September 2011

Molly's winter coat


Hi peeps

Just a quick post before I go off to Spain for another 3 weeks - it's a hard life, but someone's gotta do it, lol.

My card today features Molly Bloom, I'm seriously in love with these stamps, and was lucky enough to meet Claire - the inventor of Molly, and her daughter (Molly) at a demo day in SirStampalot, where I bought this stamp together with several others, all equally gorgeous.  Unfortunately, I haven't had much time to do papercrafting since I got back from my last holiday, but was quite pleased with this one, which features a new border die, which was a birthday present from my darling daughter.  The 'Happy Christmas' ribbon is from Crafty Ribbons.  I made the poinsettia with my Marianne design dies, and used the Doo Hickey swirl underneath to act like a stem.  Behind Molly I've used a piece of paper that I stamped and embossed using my Whimsy music stamp and Wow embossing powders - love 'em!  I'm afraid I can't remember the make of the papers but again, I picked them up on my visit to SirStampalot with my lovely friend Tash.  I cut the card candy from red card, and then covered it with glossy accents over which I sprinkled fine red glitter, I'm really pleased with the way that they turned out.

Hope you like it, and I'll hopefully be visiting you all again in about 4 or 5 weeks.

Judi x

Wednesday 10 August 2011

The Slippery Slope!


Hi peeps

I managed to get this one finished before my hols, but have scheduled it so that hopefully you'll get to see it while I'm away - no more thinking about Christmas for me for 3 weeks!!

I've used another LOTV image which I coloured with Copics and glittered up with lots of Glamour Dust.  The background papers are Bearly Mine Designs and I've used the MS icicle punch for the border.  The 'Wish List' is from Whimsy, although this isn't actually a stamped image - it was cut from the packaging which I bought the stamp  in - waste not, want not!  The sentiment tickets are also from Whimsy.  A bit of machine stitching, and some homemade candy, and that's it.

Hope you like it enough to leave a comment, and I'll look forward to catching up with you all when I get back from Spain.

Hugs

Judi x

Thursday 4 August 2011

Christmas Dinner or Dog's Dinner?

Hi everyone

Thanks for calling by.

Today's card is made with one of the new LOTV Christmas stamps, I just couldn't resist this release and bought six of them, so expect to see them popping up now and again, although I'm off on my hols again on Monday, so you won't be hearing from me for 3 weeks (BIG smiley face!)

Anyway, back to the card - the papers are digis, from Bearly Mine Designs (I think!). The little red snowflake border was an MS punch, the musical paper is stamped with a Whimsy stamp (a pressie from my friend Tasha), and then embossed with WOW embossing powders - I love these for fine detail work.  The poinsettias are cut with a Marianne Design die, to which I added punched stamens cut from coffee filter papers and then dyed with distress inks.  A little bit of stitching, a sentiment stamped with an old HOTP stamp, a bit of ribbon from my stash, lots of Stickles, and that's about it.

Hope you have time to leave a comment as I love hearing what you think.

Hugs

Judi x

Tuesday 26 July 2011

Happy Birthday Liz


Hi peeps

Today's card is for a friend of my daughter.  She apparently likes a drink (or three), so I thought this image sent to me by a friend would be perfect.  The background papers were also a gift, so I'm afraid I don't know who they're by, but I love the pink and brown mix.  The image was coloured with Copics, and on checking with my hubby if he thought it was OK, he said he thought I should make her stocking tops a bit darker than the rest of the stocking!!  Wonder how he knew that, lol!  I lightly distressed the background with 'pumice' distress ink, but made a bit of a boo boo, and got a bit of a dark splodge just under where the girl is sitting, so had to cut into another image, and 'pinch' one of the olives, which I then coloured and stuck over the splodge, hopefully no one will notice, except you guys.  The lace is from the load I brought back from Spain (must get some more next time I go), flowers are Wild Orchid Crafts, a bit of Tim Holtz film, and a computer generated sentiment finishes it off.

Hope you have time to leave a comment, as I love to hear from you.

Hugs

Judi xx

Wednesday 20 July 2011

Not quite a Red Admiral!


Evening all

Today's card is for my neighbour who kindly helps us out with watering the garden and feeding the fish when we're on our hols.  It's her birthday tomorrow, and I just wanted to make her a card to help show how much we value her.  I don't know her VERY well, so it's a bit pot luck as to whether she'll like it, but I do, so I guess I'll have to be happy with that, lol.   The black and white spotty paper is from an old Papermania pad (I think), the red and black card is from my basic card stock, and I cut the red circle with a Marianne Design die.   The image is Ching Chou Kuik, and I've coloured it with distress inks.  I don't think Sue is into 'pretty, pretty' if you know what I mean, so I didn't want to go over the top with flowers, and decided that the black feather with just one small flower was about right.  The sentiment was stamped with one of my staples, again from Papermania.  A little red homemade card candy for the corners, and that's the lot.

Thanks for looking.

Judi x

Friday 15 July 2011

Happy Birthday Sis!


Hi Peeps
Today's card is one that I've made well ahead of time for my sister's birthday in August as I shall be in sunny Spain at the time (HUGE grin!).  

My sister is REALLY into gardening, which sounds a bit weird when you think that she lives on a narrow boat, but some time ago she managed to pursuade the guy who owns the marina where they moor to allow her to look after a little bit of rough ground at the side of the canal.  You should see it now - beautiful flower beds, lawn, greenhouse and shed!!  It's a real improvement on what it used to be I can tell you.  Anyway, bearing this in mind I once again decided to make her a garden based card, and this is the result.  The image is a freebie that I downloaded at some point from Deedledeedoodles.  It's very simple, but I rather liked it.  It was coloured with Copics, and I edged it with distress ink.  The papers are digis, but off the top of my head I can't remember who by, so if you want to know drop me an email, and I'll find out for you.  I made a little ball of garden string to add a bit of texture to the card, and then some ribbon from my stash, and homemade flowers just about complete this one.  As always, I'd love to hear what you think.

Judi x

Thursday 7 July 2011

Kenny K

Hi peeps
Sorry I'm not posting so many cards at the mo, I've been busy with other projects.  However, I bought this stamp at the weekend, and just couldn't wait to get it inked up, and here is the result.

I coloured the image with Copics (managed to run out THREE of my pens, so have had to order refills - not a cheap fix, but at least they do last ages).  I'm afraid I don't have a clue whose make the papers are that I've used, as they were a gift from my lovely pal, Tasha a while back.  The card is Coredinations which I embossed with a new mask that I got at the weekend, unfortunately it wasn't until I went to sand it down that I realised it hadn't taken the embossing as well as I'd hoped, so you can barely see the design, obviously should have used another shim!  The ribbon was originally white seam binding, but I dyed it with Distress Inks, as while back and it just happened to match this project perfectly.  A Doo Hickey swirl is just tucked in there, and I used a few diamond shaped eyelets in the corners, which were originally gold, but I changed the colour with my black Copic pen.  That's about it for this one.

Hugs, and thanks for looking.

Judi x


Monday 27 June 2011

A woman's work is never done!


Hi again

Today I have another LOTV card to show you.  This little lady has been sitting in my stash for a while now, but having spent a lot of time in bed of late I've only just got around to giving her an airing.  The colours were inspired by the Echo Park pack that I used on my last card - just ADORE bright pink - you should see my nails, lol.  Anyway, having coloured my image, I decided it was a bit busy to use patterned papers too, so decided to go with white, but embossed it to add a bit of interest.  Once again I've used the technique from my last card on the clouds, and am really happy with it.  The flowers are home made by yours truly, and the little dots that I've put in the lower left corner, are just pink and green circles which I punched out and then added some glossy accents to.  They make a change from pearls or card candy, and are very effective with the glossy finish.  When I was almost finished, I decided that the white background was a bit too plain, so zigzagged it with thread to match the pink card, and was very happy with the outcome.  Please feel free to leave a comment letting me know what you think.  I always LOVE hearing from you, and DO appreciate the time it takes.

Hugs

Judi x

Saturday 25 June 2011

Peddle for all you're worth!


Hi peeps

Hope your weekend has got off to a good start?

Today I would like to share a card I made earlier in the week but have only just got around to photographing.  The paper is a pack from Echo Park called Summer Days.  It's just great for bright and cheerful kids cards, hence the image I chose to use which is of course from LOTV.  I used Copics for the colouring, and was really rather pleased with how the sky turned out, although it does look a tad brighter here than in real life.  I tried out the technique after having watched a video on someone's blog,  I'm really sorry I can't remember whose, but if you recognise it as your style, and you did the video, let me know and I'll be more than happy to credit you. as I'm very impressed with how simple it was to follow.  A bit of stitching, and a sentiment, and that about completes this one.  As always, I hope you like it.

Hugs

Judi x

Saturday 11 June 2011

We all use flowers!


Hi peeps
Hope you've enjoyed the weekend so far?  

Today I would like to share a card that I made with a flower stamp that I bought a while back in a set from JustRite, called 'Plant a little love'.  We all seem to use flowers on our cards, but few of us actually use flower stamps, so I thought I'd try and use both.   I love the way that some hydrangeas turn blue, so figured these papers from the Wild Rose Studio set 'Lilac Mist' would be perfect.  The flower was coloured with Copics, and then I used the same colours to tint the flowers which I made using coffee filter papers.  I used an MS punch for the border, and a nestabilities tag die for the sentiment.  Ribbon and charm from my stash.

Hope you like it.

Judi xx

Tuesday 7 June 2011

I'm BACK!

Hi peeps, 

I'm back from my hols, and having been home for a week can hardly remember what it was like to spend every day soaking up the sun, and reading, punctuated with the occasional swim!!

Since I got back I've been suffering with the migraines again, which is a bit annoying although it would have been worse if I'd had them while I was away, although I was daft enough to spend a bit too much time pottering in the garden one afternoon, and although it was a bit cloudy, still managed to give myself sunstroke!!

Anyway, I'm now back in the old routine, and this is my first card.  I ordered this stamp from Sweet Pea in the US before I went away, and was chuffed to find it here waiting for me upon my return, so at the first opportunity got it inked up.  The card turned out TOTALLY different to what I initially visualised, as I'd planned on using pink papers, but once I'd coloured her in, I felt that she looked a bit insipid against the pink, but really jumped out at me from the khaki coloured papers, which I think came from a Paper Cellar pack??  I was really pleased to grab some of this gorgeous lace VERY cheaply from a Spanish market that I visited - I went looking for flip flops and handbags, and came away with lace, lol.  The pearl swirl I made myself, as I was too tight to buy some, lol, but having seen how much work goes into it, I can see why they tend to be a bit pricey.  Still I enjoyed fiddling around with it, so may well do some more.

Hope you like it, and if you have time to leave a comment, it would as always, be MUCH appreciated.

Hugs

Judi x


Thursday 19 May 2011

Teddy Bea makes music!


Hi peeps

Today's card was made in a bit of rush, as I've been getting ready for my hols this week - we're off to our place in Spain for a few days.  Anyway, I suddenly realised that I needed to make a card for a lady who teaches music before I leave, so having done a quick search for a suitable image I came across this FABULOUS Teddy Bea, and just knew that it would be perfect.  I coloured Bea with my Copics, stitched all the papers together (Nitwits again), added a ticket sentiment, and a small musical instrument charm, together with a bit of ribbon from my stash, and that's about it.  Oh, nearly forgot to mention the star, which I cut with a new die, purchased via Ebay only yesterday teatime, and it arrived this morning, how's that for service!!!!

Obviously you won't be seeing me on blogger for a couple of weeks, but I hope you won't forget me during that time.

Hugs to all


Judi x

Monday 16 May 2011

Molly's Growing up!!


Hi peeps
Today is my youngest granddaughter's 5th birthday.  I can't believe how quickly the years have gone by, and as her mum doesn't plan on having any more it looks like I'll have to wait to become a Great Grandma before I get a regular cuddle of a baby now, boo hoo!

Anyway, the reason I thought I'd share these pics is that I wanted to show how much the little Bildmalarna girl on the gift box that I made looks like our Molly (bottom pic).  I also thought I'd show her with her card - you'll  notice how she's so used to posing for Nana and her camera, lol.  The other pic I thought you might like to see is her wonderful new Hannah Montana shoes - I'd have killed for those when I was a kid!!!

Hope your week has started off well - mine has!

Hugs

Judi x

Friday 13 May 2011

Another 'MAN' card!


Hi again

The other day I bought a set of the new Papermania Nostalgia car stamps.  If you're a member of the Docraft forum you may have seen the thread about them, and be aware that there was a problem with the mini cooper in the set.  Anyway, my main reason for buying them was the vintage car, so having discovered that I had one of the faulty sets I took it back and swapped it for a set by Sam Poole for Creative Expressions  which included this image, which I actually like even better.  I've come to the conclusion that one of the reasons I usually struggle with men's cards is that I try to put too much on them, so this time I decided right at the start to keep it simple and this one came together really quickly - result!  I stamped the image with a dark brown ink and decided that it looked a bit stark on basic white, so stamped a  part of a scroll stamp around the edges, and then smudged it with my finger to create a more 'vintage' frame.  The cogs are a BIGZ die which I love for men's cards.  I crackle glazed one of them to add a bit of texture, and added some eyelets with the aid of my crop-a-dile to the other one.  I really like this tool as it makes it just so easy to fix eyelets in place - so much so, that I added some more to the corners of the brown card which I embossed in the Big Shot (sorry can't remember whose embossing folder it is).  The birthday sentiment was in my stash, and I added the 'wishes' whose letters were stamped individually, and then given the same 'smudge' treatment as the frame.  I think that about sums it up.

As always, I hope you like it, and thanks for visiting.

Judi x

Wednesday 11 May 2011

Wish I looked like this!


Hi there

Today's card features one of my favourite stamps - it's by Hannah Lynn for Crafts And Me, and is called Vanessa.  The background papers are from a new set I bought when Nitwits had their sale on last weekend, it's called 'Promises'.  I finally got around to using some of my Tim Holtz film tape, and the flowers are all home made, as is the pearl swirl.  The sentiment is a stamp, but I'm afraid I can't remember who it's by.  There are a couple of Spellbinder swirls in there which you can just see poking out from behind the flowers, and I chalked them to all a bit more texture.  The papers have all been stitched into place, and I've added a fair amount of stickles to the flowers, and around the sentiment, although it doesn't show up much there.

I hope you like it.

Judi x

Sunday 8 May 2011

Time for a bit of SUNSHINE!


Hi again friends

I thought maybe you would be getting bored with me making Christmas cards now, (I was, lol), so I figured it was time to bring a bit of sunshine into my cardmaking.  The image is an Elizabeth Bell  (I think), I haven't used it for ages, so I thought I'd give her an outing.  The card and gingham papers were dug out of my bits and pieces folder - I thought it was about time I used up a few odds and ends!!  The image was stamped and then masked so that I could add the background (a Magnolia Stamp).  I then coloured it with distress inks, and am particularly pleased with the way the sky turned out.  A bit of lace, some ribbon, and some homemade flowers, together with a sentiment stamp from Lynn at Crafts 4 you, and that's all there is to it.

I hope you've enjoyed my little bit of sunshine.

Hugs

Judi x

Sunday 1 May 2011

It's getting nearer!!!


Hi there everyone

You might note from the title that I'm still aiming to be more prepared for Christmas this year, lol.  This time I've used a snowman from Funkykits (I think).  I've kept this card quite simple as the image is pretty large.  Once again the Copics have come out to colour him in, and I've finally used some Kraft card that I bought ages ago, and then forgot about!!!  I punched around the edge of my white paper with a Martha Stewart punch, then thought it still looked a bit plain, so ran it through my Cuttlebug snowflake embossing folder to give it a bit more texture.  I then added a bit of corrugated card that came as packing with a craft order one day (got to recycle!).  Once again, I designed the ticket sentiment on my computer and then cut it out with my trusty ticket die from Whimsy.  The snowflake is a large Marianne die, and the small snowflake is the much used Martha Stewart punch.  A good sprinkle of Glamour Dust, and that's about all there is to it.


Please feel free to leave me a comment if you have time.

Judi x

PS  After posting, I had to chuckle - I'm busy making Christmas cards, but have just changed my blog background to a summer theme - how contrary am I? lol

Sunday 24 April 2011

WARM Christmas Wishes!!


Hi ya

Well, I hope you're all enjoying the warm Easter weekend, hasn't it been lovely?

Anyway, I warned you the other day that I'm in Christmas mode (I KNOW I'm weird, lol), so here's my latest attempt.

The image is a digi from The Greeting Farm, I think it's called Autumn Anya, but I figured being all wrapped up in her scarf it would do for Christmas too.  The patterned paper is also a digi, and is from a set by Donna at Bearly Mine Designs, called Christmas Fun.  I made some plain paper in a dark shade of purple to blend with the DP and the Copic colours that I used to colour my image.  I've also used a Fiskars snowflake border punch, a Doo Hickey die for the swirl and a heart shaped doily from my stash.  The DP is stitched in place with zigzag stitching, and I designed the ticket stamp on the computer, then cut it out with my lovely die from Whimsy - love these, they release SO easily.

Hope you like it.

Hugs

Judi xx

Thursday 21 April 2011

Christmas IS coming!!


Ha! Ha! Bet that title got ya going, especially as the weather is so GORGEOUS here in the UK at the moment.  My hubby thinks I'm barmy making Christmas cards when spring/summer is just on it's way, but I did PROMISE myself I'd get ahead this year, and up until now have only made one card - which is just not good enough, lol.

Anyway, today's card features a little lovely from LOTV.  I coloured her pre-Christmas 2010, but just never got around to making her into a card, so when I came across her the other day, it was just the spur I needed to get stuck in.  The papers are actually from a freebie pad that I got with a magazine a couple of years ago.  I've then backed them with plain red, and white card - whoops!  Don't know how I've suddenly gone all italics, lol.  The doily is my new one from Cheery Lynn, I think you'll be seeing a lot of it!!  There's a bit of white border cut with a Doo Hickey die.  Snowflakes are Marianne D and Martha Stewart.  Ribbon from stash, and that's about it really.

Hope I've maybe inspired one or two of you to start a bit of forward thinking??

Hugs

Judi xx  

Thursday 14 April 2011

Daydreaming!


Hi peeps

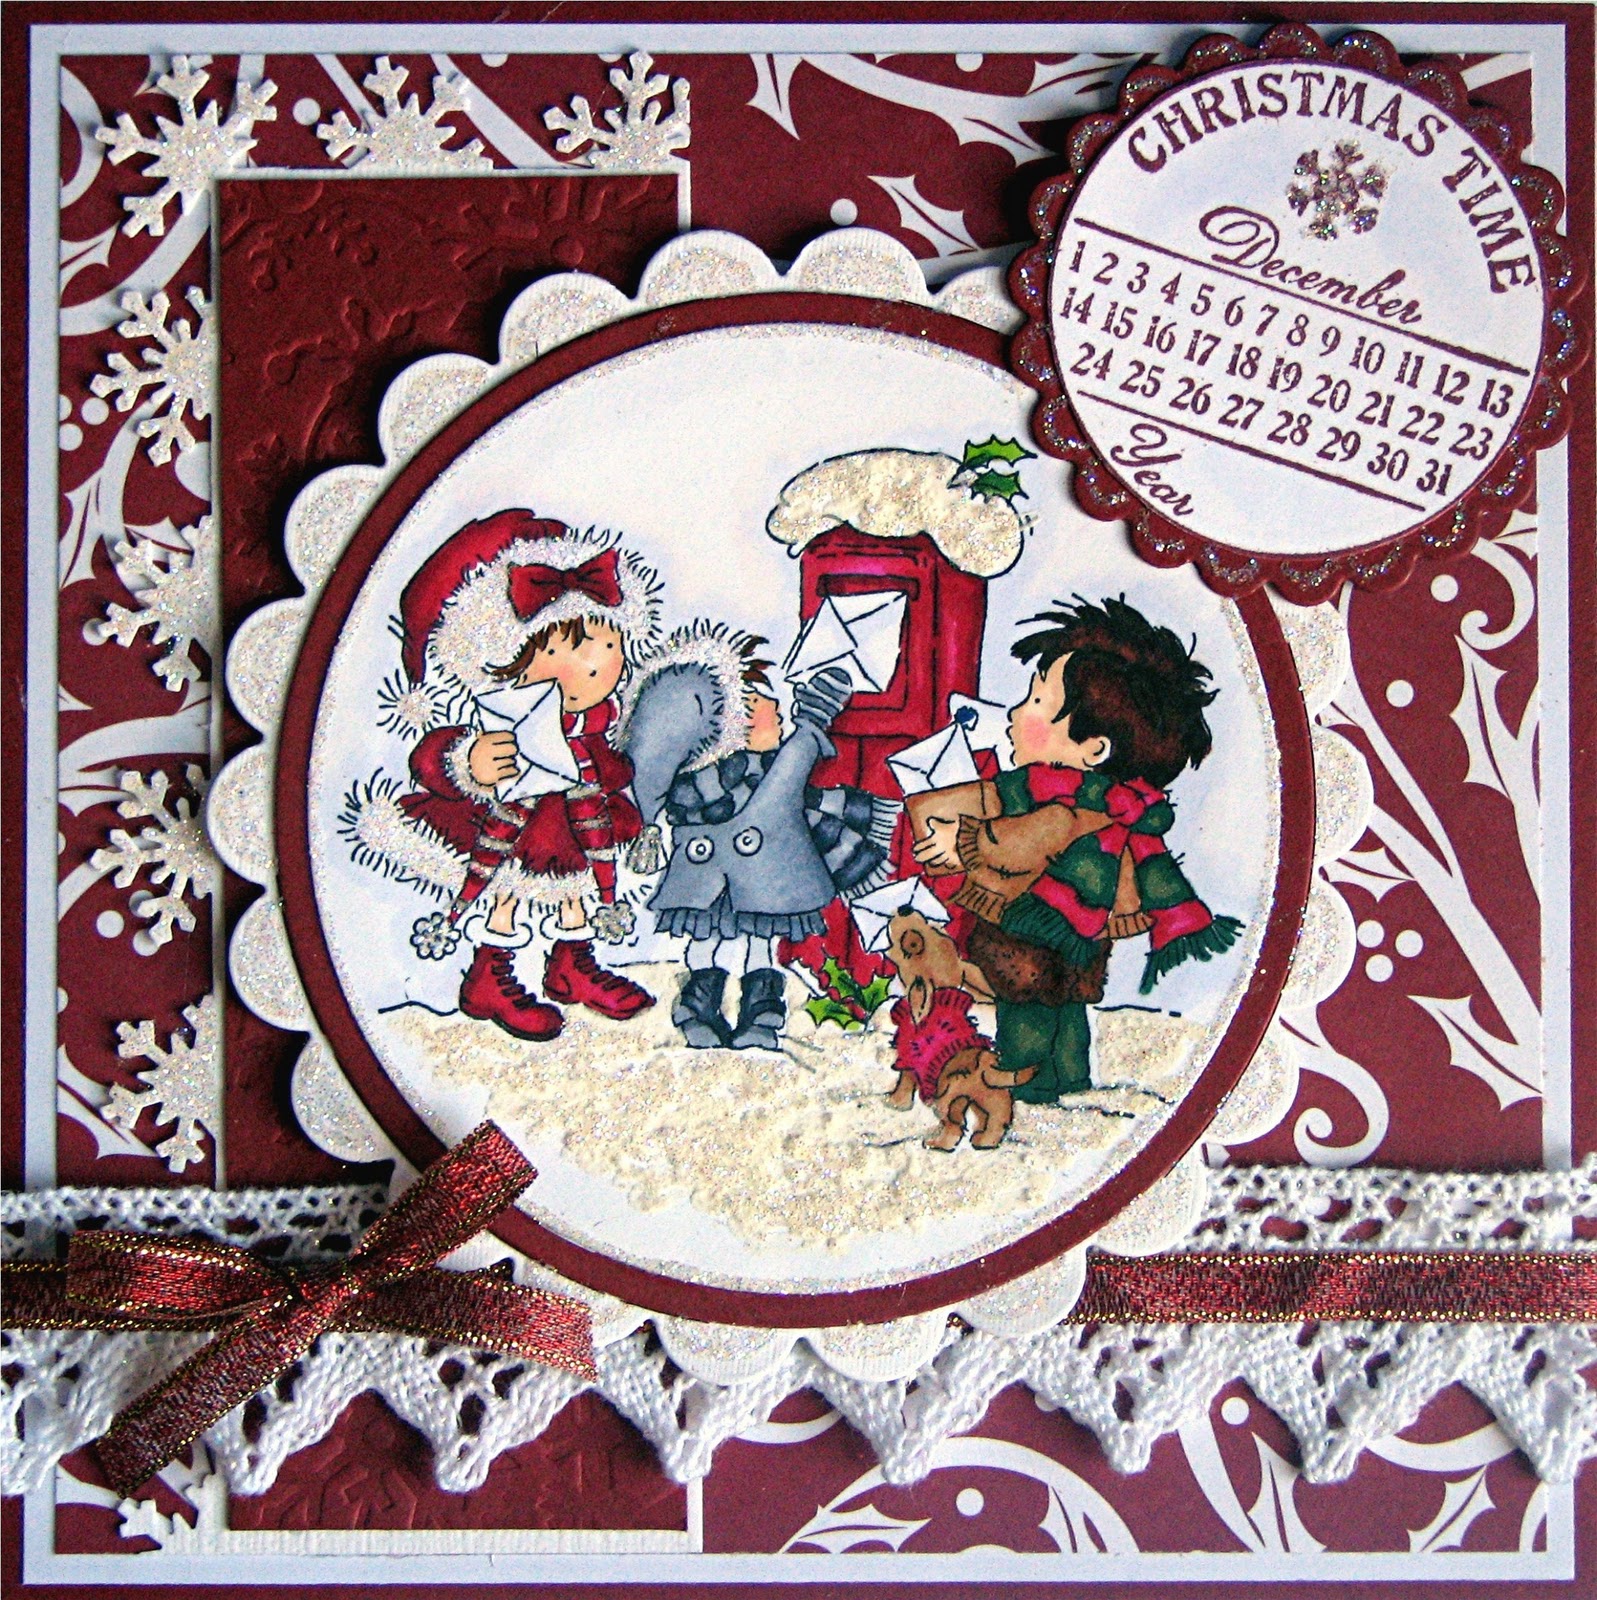
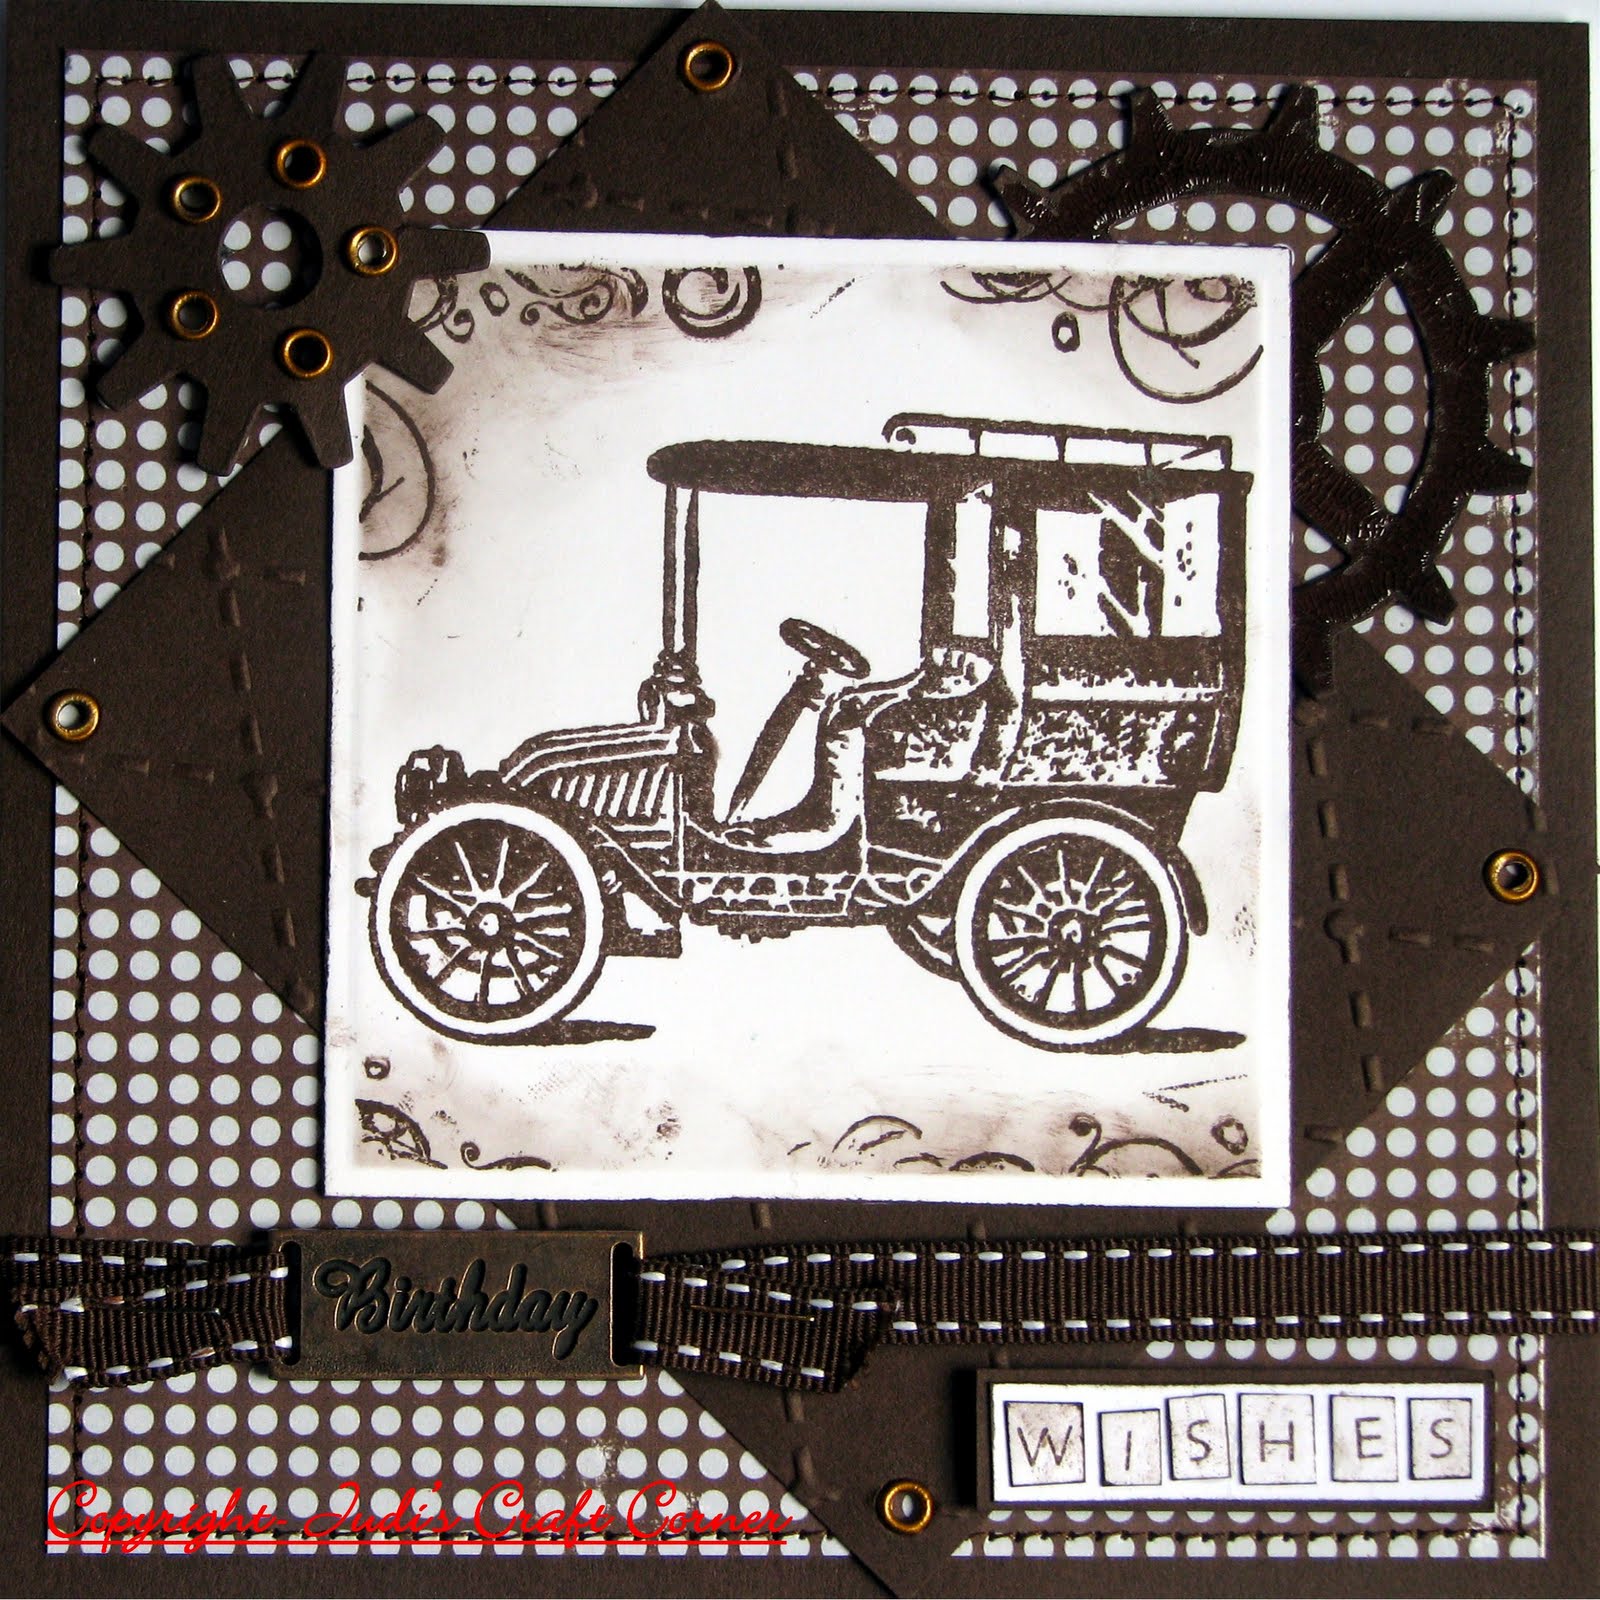
It seems ages since I had something new to show you, but to be honest in between whiles I had to make one of the dreaded 'man' cards, and as it wasn't really anything exciting I decided not to bother putting it on the blog.  I've also been suffering from a lot of migraine headaches lately, so what with that and my back, my crafting time has been even more curtailed!  Still, never mind, off to see the doc tomorrow as I think the headaches could be caused by the drugs I take for my back - let's hope he can help!

Anyway, onto the card.  I'm rather pleased with this one, as I LOVE this bright pink colour - anyone who knows me will tell you I wear it all the time, lol.  The gorgeous image is by Elizabeth Bell and is one of the recently released 'Little Peekers' range - I got mine from Elaine at Quixotic Paperie - brilliant service!! The papers are Dovecrafts - Back to Basics 2 - a lovely selection of stripes and spots in all sorts of gorgeous bright and pale colours - REALLY good value for money!   The doily is a die cut which I made with my new die from Cheery Lynn.  I have to say that for a VERY intricate design, this die cuts BEAUTIFULLY!  I'd highly recommend it.  The image is coloured with Copics, and cut out with Nesties, as are the hearts tucked behind it.  The flower is homemade, and the leaves were done with an MS punch.  I boobed, and glued the image a little higher than I'd planned, thus throwing the balance of the whole card out of kilter, but after a bit of faffing around, I added the three black candies (home made of course, lol), and the little strip of black underneath it, just draws the eye back where I wanted it to be.

I do hope you like it, and as always would love it if you have time to leave a comment for me, as when I'm stuck in bed, and log in, to find you girls have been thinking of me, it really makes my day!

Hugs

Judi x

Friday 1 April 2011

My latest Tilda card


Evening all

Today's card is made using the latest additions to my Magnolia stamp collection - 'Tilda with flower pot', and 'stone path'.  Having done a bit of masking on my last card I bought both of these stamps with that in mind, and am really pleased with the way this card turned out.  The DP is from a set by Wild Rose Studio called 'Lilac Mist', which matched well with some plain card in my stash.  The little border peeping out is a Doo Hickey die, the lace is from Hobbycraft.  Sentiment is from Whimsy and the little dragonfly (bottom left) is also a Doo Hickey die cut which I cut out twice, once in mauve and once in white, I then glued them together to add a bit of dimension and finished off with a couple of pearls.  Unfortunately, I found a little glue splodge on the outer matt (plain mauve), so a little bit of doodling with the Quickie Glue pen, and a sprinkle of Glamour Dust, and voila, no more splodge!!

Hope you like it.

Have a great weekend.

Judi x

Wednesday 30 March 2011

My first Rocka card!

Hi peeps

Today I'd like to show you my very first Rocka card, it's made using a Teddy Bea digital image.  I just fancied doing something a little different, and this is what I came up with.  I masked Teddy Bea, and then stamped a Magnolia fence behind her.  I'm afraid I don't know who the papers are by, as they were in the great big pile that my friend Tash passed onto me, when she realised she had way too much stash, but there were two that seemed to go together, one stripes and one flowers, so I cut out the flowers to make the perfect matching embellishments for the stripey paper.  I added a few pale blue pearls to add a bit of extra dimension, and that's about all there is to it.

As always I'd be grateful for your comments.

Hugs to all

Judi x

Monday 28 March 2011

Something for the Gents!


Evenin' all

Todays card uses a beautiful vintage car stamp from Wild Rose Studio.   It's quite a large stamp, so I've used a 5 x 7 card for a change - oh boy, do I find it hard to get away from the squares, lol.  Once again I decided to make my own background papers using distress inks, this time in green, although it looks more brown on my monitor.  The stamps I used in the background are all about travel, although I can't remember at the moment, whose make they are.  The 'Not over the hill' sentiment is a stamp from a Kanban set, and then other than that, with it being a card aimed at the male species, I decided to keep it simple - they just can't cope with anything else, lol.

Hope you like it.

Judi xx

Wednesday 23 March 2011

What a 'Tweetie'!


Hi peeps

Todays card features two Whiff of Joy stamps.  I haven't done any masking for absolutely AGES, but suddenly the fit took me, and you know how it is?? LOL.  For the life of me I can't remember who the papers are by, could be Basic Grey, but I'm not really sure.  The image is coloured with distress inks - my favourite medium of the moment. The flowers are handmade using a variety of punches and die cut flower shapes, and the leaves are an MS punch.  That's about it really.

Please leave a comment if you have time, as I love hearing from you.

Hugs

Judi x


Sunday 13 March 2011

Pretty in purple


Hi everyone

Today's card has actually taken me 4 days to get finished!!  I know a lot of you ladies knock up a card in an hour or so, but I simply can't do that!  I think it's because when my back pain is niggling I just can't concentrate properly, but having made this one from scratch - including the paper, I'm rather pleased with the finished article.  As I said, I made the paper myself, using a versacolour ink pad in a shade that I love.  I used it in a similar way to distress inks - splodged it on my heatproof mat, added a spritz of water, and then wiped my paper over it in various directions.  I then stamped over it with a set of clock based stamps - sorry, I can't remember who they're by, and a music score stamp from Whimsy.  The 'Wishes' stamp  is also from Whimsy, and I cut it out using the matching die - I'm loving these!  The flower is made with some matching purple card, and a layer cut from my dp.  Ribbon is seam binding which I've dyed by spritzing with distress ink mixed with water, and the little tag was punched, and then I stamped the sentiment on, again using the matching ink pad.  Ooops!  Sorry, I forgot to mention that the image I've used is a Ching Chou Kuik from Crafts & Me, called Midnight Waiting, and I've again coloured it with Distress Inks - I'm really into these now.

Hope you like it, and have all had a wonderful weekend with hopefully a bit of crafting time.

Hugs

Judi x

Saturday 12 March 2011

Have you visited .....

Hi there peeps

Have you visited Angelwood's Crafting Corner lately?  If not, you might just want to pop over there NOW as Angela is offering not one, not two, but THREE lots of FABULOUS candy.  Just take a peek at the pictures below, that is if you're still here, lol.

Meanwhile, hope you're having a great weekend.

Judi x


Tuesday 8 March 2011

Molly's Card


Hi peeps

Sorry I haven't posted in a while, we've been decorating .......... need I say more!!!  Then of course I had to pay for my efforts and spent a few days nursing my back, so barely got to visit the craft room.

Anyway, today's card was made with no particular recipient in mind, but then when it was almost finished the little Bildmalarna girl reminded me so much of my youngest granddaughter that I decided to keep it for her birthday in May, and put her name on it accordingly.

I'm really loving making these shaped cards which are all cut using my Grand Caliber and XXL Go Create dies.  I'm afraid I can't remember the name of the papers I've used, but the balloons were created using my new Whimsy dies, which I then stamped a sentiment on.  I really LOVE the Whimsy dies, as they're so easy to release your paper / card from, unlike some that I own.  The flowers were all handmade by yours truly, leaves are a Doo Hickey die, and the butterflies are all Martha Stewart punches.

Hope you like it, and as always, many thanks for taking the trouble to visit my blog, and for any comments you might care to leave.

Hugs

Judi x

Friday 25 February 2011

Vintage Plonk??


Evening all

Today I have something to show you which is most unlike me!!  As you will know if you're a regular follower, I've been dabbling a bit with Distress Inks recently, and so I thought I'd try something a bit more suitable for a man's card and see what I could come up with.  I'm amazed to say that I really like the finished product, which will encourage me to explore this medium a bit more.  The stamps are from a Vintage set by Sam Poole which I believe are called 'Wine Label'.  I made all of the papers on this card.  I distressed the edges with walnut stain, then randomly stamped various images from the set over the bottom paper.  The printed paper was done with a stamp from an old HOTP set.  The bottle and glass were both coated with UTEE, then I put the bottle in the freezer for a few minutes, before cracking it to give it a really 'aged' effect.  As always, I hope you like it, and look forward to hear your thoughts if you have time to leave a comment.

Hugs

Judi x

Sunday 20 February 2011


Hi there peeps

This is the first card I've made in what seems like ages, that I didn't feel under pressure about - ie., it's not for any particular occasion, I made it just for the fun of it, and I'm REALLY pleased with how it turned out.

The image is called Vanessa and is from Crafts and Me.  I cut out the base card using one of my XXL Go Create dies.  Because you need to leave a little bit of the card uncut so that the card holds together it rather spoils the shape, so I then cut the shape one more time in white card, which I then coloured and stamped with Distress Inks to give me my background.  After this I stamped it again with the edge of a stamp from Stempelglede , and glued it to the card base.  I cut the same shape in a smaller size, and then coloured that with the same Distress Ink (Victorian Velvet), then stamped it with a text stamp from HOTP which I've had for ages.  The torn newspaper effect paper is a stamp from Whimsy and you can get it from Quixotic Paperie.  I distressed the edges of everything with Walnut Stain, then added a strip that I'd punched with my newest MS punch.  There are a couple of hearts on there cut with Nesties, the large dragonflies are a Magnolia Doo Hickey die, and the small one is another MS punch.  Flowers from WOC.

I hope you all like it as much as I do.

Hugs

Judi

Wednesday 16 February 2011

Flapper Girl


Hi again fellow craft addicts

Today's card features 'Flapper Girl Melody', a stamp which I bought from Crafts & Me at Stamperama.  What a lovely image it is, and so nice to colour with the distress inks.  I also got the papers from them at the show, they are by Memory Box, and are (I think), called Gossamer.  I backed all the patterned papers with dark brown card stock, and then added the swirl (Doo Hickey die), a couple of ticket sentiments which I did on the computer, and the flower, folded down the corner, and backed it with a matching paper, and hey presto!

Feel free to leave your comments, good or bad.

Hugs

Judi x


Posted by Picasa

Tuesday 15 February 2011

A Special Day


Hi peeps

I made this card having been inspired by some beautiful work done by Camilla one of my favourite crafters.  I'd forgotten about this lovely stamp from Ching Chou Kuik which had been lurking in my drawer for some time, so got it out and gave it the distress ink treatment.  I was a bit unsure about colouring the background, but I think it came out quite well in the end, and that's boosted my confidence a bit.    Sorry I've forgotten who the papers are by.  The stamp is from LOTV (I think), and the ribbon is seam binding which I've dyed with distress ink to match my colouring.

Hope you have time to leave me a comment as I love to hear your thoughts on my work.

Hugs

Judi x
Posted by Picasay

Saturday 12 February 2011


Hi again

Today I'm going to show you Paul's birthday card which I mentioned yesterday. I spent ages faffing with this. I seemed to have so many conflicting ideas, and I couldn't get anything to come together, so in the end I put it all away and started from scratch. I loved this paper which is one in a pile of freebies kindly given to me by my wonderful crafty friend Tasha last year. The image is from Digi Stamp Boutique, and really sums up my darling hubby!!! He likes a drop of beer, loves to read his paper, and really enjoys a snooze at ANY time, lol. As you can see, what I came up with in the end was SO simple, that I couldn't believe I'd fretted so much, but I guess it was a case of I tried too hard, because I wanted to make it special.

Hope you have time to stop and let me know what you think.

Judi x
Posted by Picasa